

To make your own cushion (pillow), you'll need:
- about a metre of fabric (mine was from Wholeport) (a yard is plenty if you're imperial)
- some printable fabric from Crafty Computer Paper (it's a UK store - if you aren't in the UK, you may have somewhere closer you can buy this).
- ribbon
- scraps of fabric
- button
- scraps of fusible interfacing
- 46cm (18") cushion inner (pillow form) - mine was from The Range
You'll also need a computer and printer, and a photograph saved on your computer!
How to make your photo cushion:
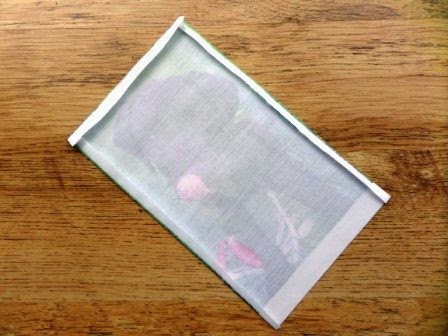
First, print out your photo onto the printable fabric (you may be able to resize your photo in the print option, otherwise use an image manipulation program like GIMP, which is free to download). The fabric is designed to run through a standard printer and has a backing you should only remove after printing. Once printed, leave the ink to dry for about an hour. After drying, iron the fabric to help seal the ink.

While it's drying, cut out the basic rectangles you'll need for your cushion:
- one square 60cm x 60cm (cushion front)
- two rectangles 60cm x 40cm (cushion backs)
Cut out the image leaving about 1cm of fabric around the edge of the image. Back the image with fusible interfacing and press to adhere.
Fold the edges of the image under and press. If your ribbon goes over the bottom of the image (as mine does) you don't need to press the bottom edge of the image.
Stitch the image in place slightly to the left of the centre of the fabric square (the cushion front). Sew the ribbon straight across the cushion from one side to the other.
Cut out two heart shapes, one slightly larger than the other and back the largest one with interfacing. Press to stick interfacing into place.
Stitch the hearts together and then position on the cushion front. Stitch into place.

Sew a button in place on the heart.
Take the two rectangles for the back of the cushion and sew a hem on each one along one long edge. Press. Place the cushion front (right side up) on a table and place the two backs (right sides down) overlapping, with the raw edges along the outer edges and the hems towards the middle of the cushion. Pin together around all four raw edges.
Stitch around all four edges using a 1cm seam allowance. Trim seams to neaten. Turn and press.
Pin and sew all around all four edges, approx 5cm from the folded edge.

I added another row of stitching inside the first row because I wanted the cover to be a little tighter over the cushion inner.
Place the cushion inner inside your cushion cover and sit back and relax!
P.S. My cushion was a gift for my mum who's 87 - it's not always easy to buy for older people, and something personal often works well! She adores the puppy in the picture - he's a guide dog puppy called Quentin (as you'll already know if you follow this blog!) and he's mine only until he's ready for his "proper" training at about 14 months.

And by the way, my mum loved the cushion!
4 comments:
Lovely! I once made personalised tote bags using photos relevant to various friends but it's a while ago and you've inspired me to have another go.
And I've fallen in love with Quentin!
This is great Wendy - and what a fab present for your mum. I've just ordered some of the fabric paper as I want to add pictures to a wedding anniversary quilt I am making!
How To Choose The Best Mattress For Your Bedroom
How To Make Your Mattress Extra Comfortable
Read This Article How To Wash Bed Sheets in The Washing Machine?
Post a Comment